Installing a new Operating System is always a daunting task for a first timer. Microsoft Windows is the leading Operating system in terms of user base. In this article, we will show you how to install Windows 7, this is a Custom/Fresh install of the popular version of Windows. (This is not a dedicated guide for Upgrade process but you can use it to your advantage as you see fit)
There are 6 versions of Windows 7:
> Windows 7 Starter Edition (Packaged as OEM)
> Windows 7 Home Basic Edition (Packaged as OEM)
> Windows 7 Home Premium Edition
> Windows 7 Enterprise Edition
> Windows 7 Professional Edition
> Windows 7 Ultimate Edition
You can learn more about these editions from our article [insert link here]
At this point I am assuming that you already have a bootable USB disk or DVD disk containing your required Windows 7 edition setup. If you want to know how to download Windows 7 setup files from official sources and make a bootable USB setup disk, then please refer to our article here.
In order for you PC to start booting from the removable media (USB, DVD etc.), you would first have to change the boot order from your computers BIOS setup. Some computers give you the option of changing your boot disk priority on every computer start, without directly going to the BIOS.
For guidelines regarding access of BIOS and boot priority change, please refer to your BIOS manufacturer and then start using this guide to learn how to install windows 7.
After you have changed the boot priority to make the DVD or USB drive the top or default one, restart the computer with the setup media (USB or DVD) inserted.
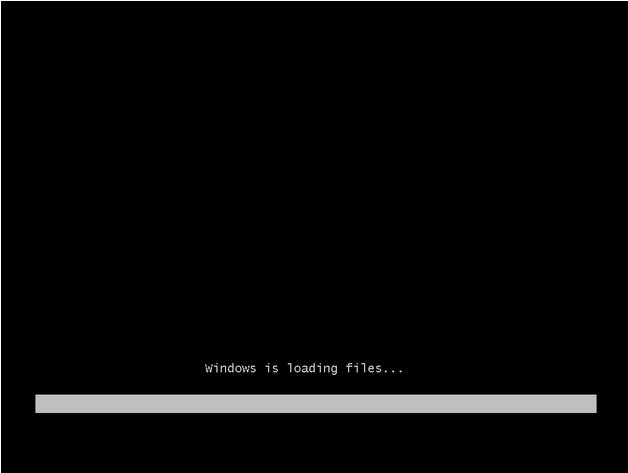
If you have configured the boot order correctly, then the above screen should show up instead of your regular OS or a no OS screen.

The setup is starting.
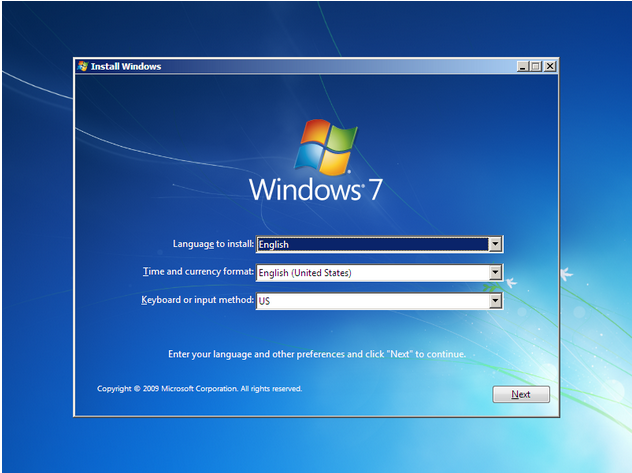
Select the language for your Windows OS. You must have download the multilingual version for this option. Also select your desired Time and Currency format. If you a regular English keyboard, then keep the default US option for Keyboard or input method otherwise choose according to your keyboard type for easier user experience.
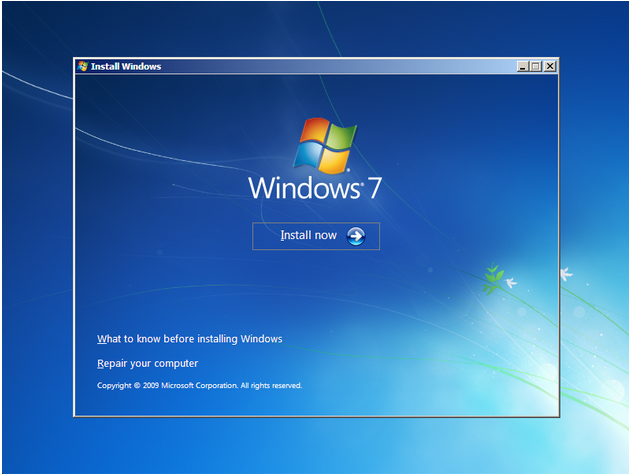
Click on the Install now button. The other option is for Repairing a faulty Windows installation, which at this point is of no concern to you. You can also check out the “What to know before installing Windows” feature to gather more information on the installation process.

Read and then accept the license terms and click next.

Choose the hard-drive partition you want Windows installed on. If you have a previous OS installed and don’t want it removed, then choose another partition. If you want to format a drive (Also for OS removal), just select the drive and then go into Drive options to completely erase the data on that drive.
Note: Windows 7 can be installed on a Fat32 and NTFS hard drive partitions only.
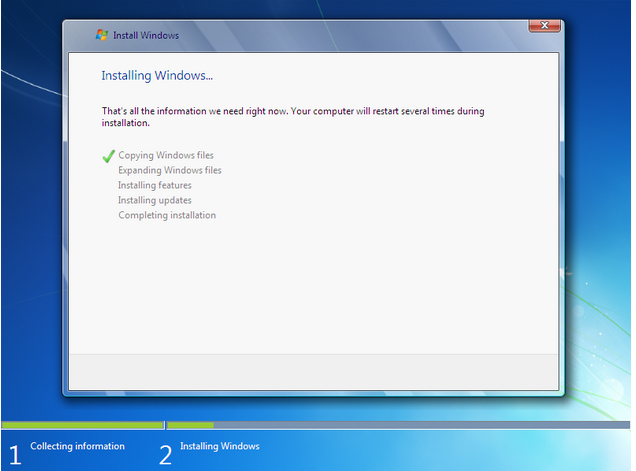
After you click next on the previous step, setup will now start installing Windows 7.
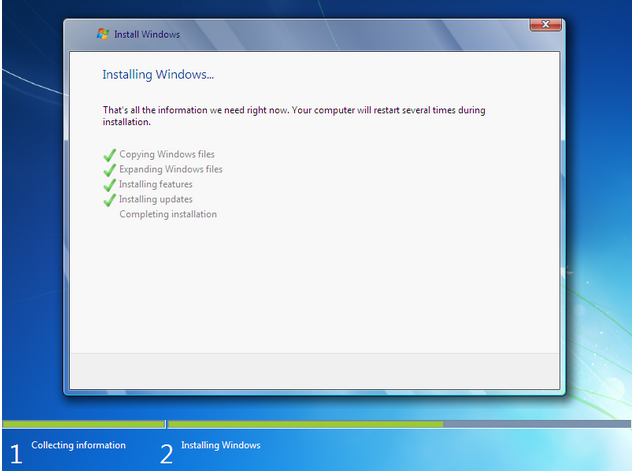
Let the setup carry on without disturbing it.

The setup will prompt you that it is restarting now. Let it restart.
Note: If you have permanently change the boot order (unlike in some computers where you can select boot device at startup without needing to change boot order) then either change the boot order on restart or remove the installation media (Recommended). If you don’t then the above process will start over without letting the current one finish.
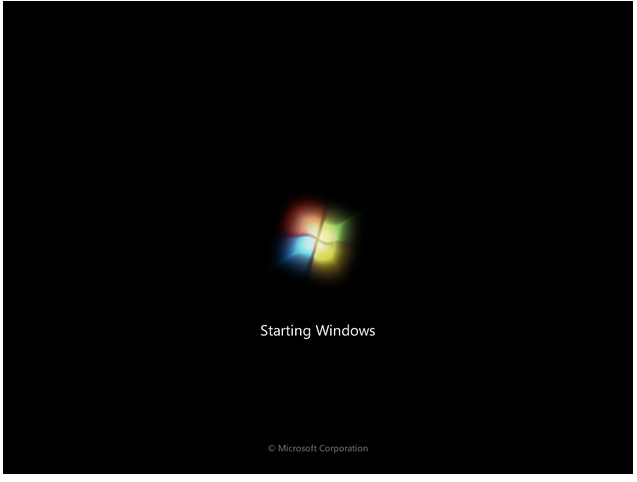
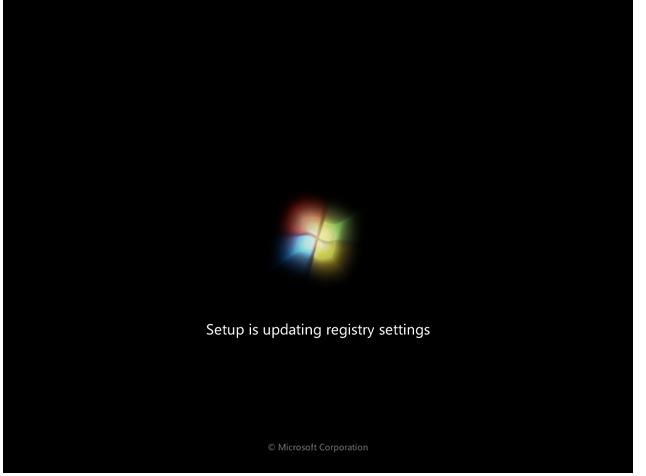
More setup jargon 🙂 .

After restart, Setup will automatically resume the installation.
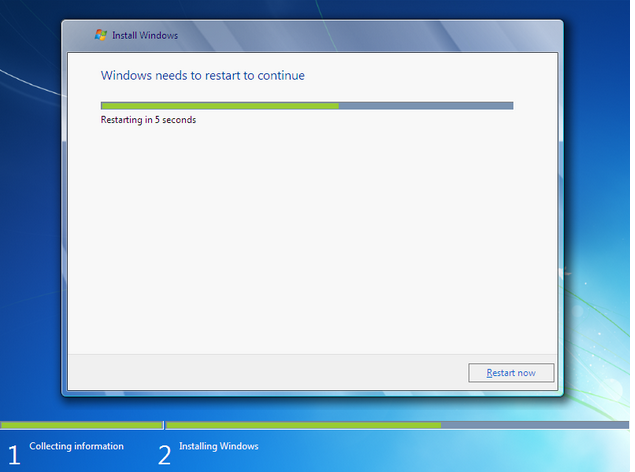
Your computer will restart one more time. Allow it.
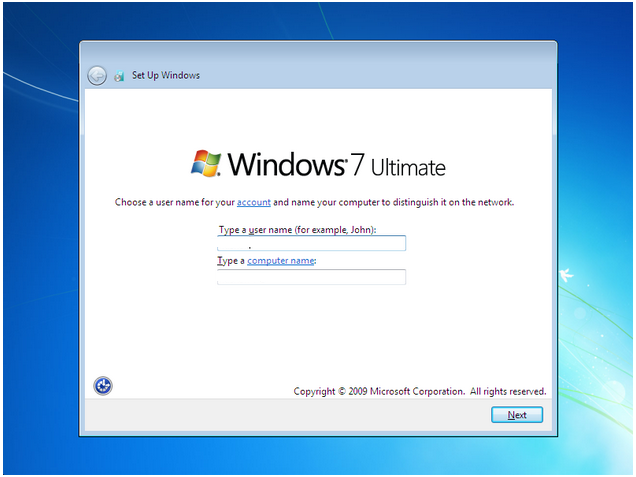
Windows will now ask you some profile questions for your account. Type in a user name and computer name of your liking.
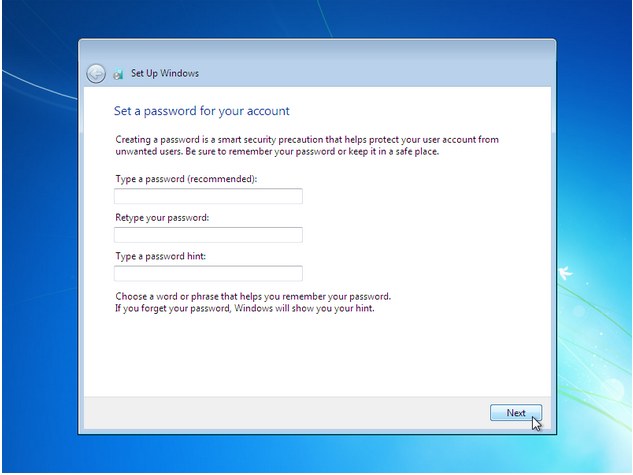
Select a password (Recommended) if you want to but this is not necessary and you can just click Next.

Type in you Product Key for the OS version you installed. This step can also be skipped for now but remember that the trial period for registering your Windows 7 OS is 30 days. You need an internet connection to verify your Windows 7. If you skip this step now, you can still enter your product key and register Windows by right clicking on My Computer and scrolling down to bottom where there is an option for this.
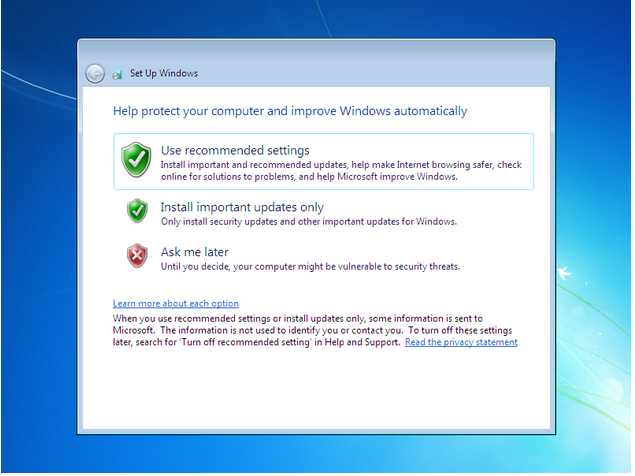
Choose the settings for Windows 7 updates. Choose recommended settings if you are unsure but use Ask me later feature if you think you can pick and choose which Updates to install.

Choose the time zone of your region. Sometimes, the clock will still be off by 1 hour or so. Correct this manually.

Choose the network type you want your current internet connection to be e.g. if you are in a restaurant, the connection will be public or if you are in your house, then connection will be Home.
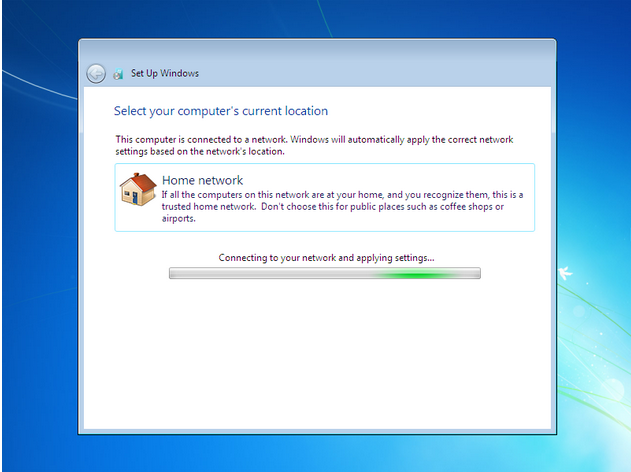
These will be all the information Windows 7 will require for now. Just wait and let Windows finalize everything before starting for the first time. There is no more step for you on how to install Windows 7.

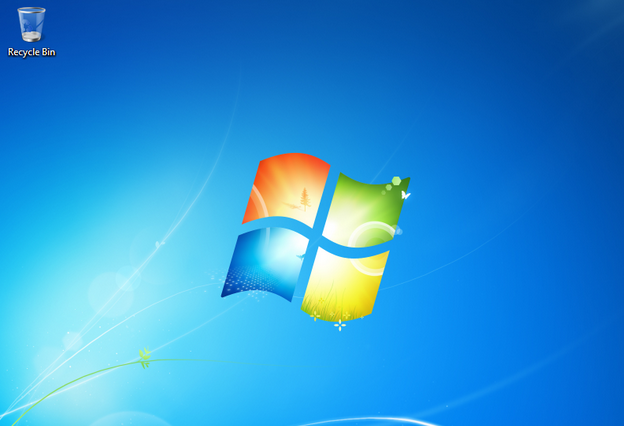
Congratulation! You just learned how to install Windows 7 on your system. If you want more useful tutorials, please keep visiting and exploring talkofweb.com .
Thanks


